End Caps Requiring Rivets to keep Panels from Separating in North Vancouver
End Caps Requiring Rivets to keep Panels from Separating in North Vancouver
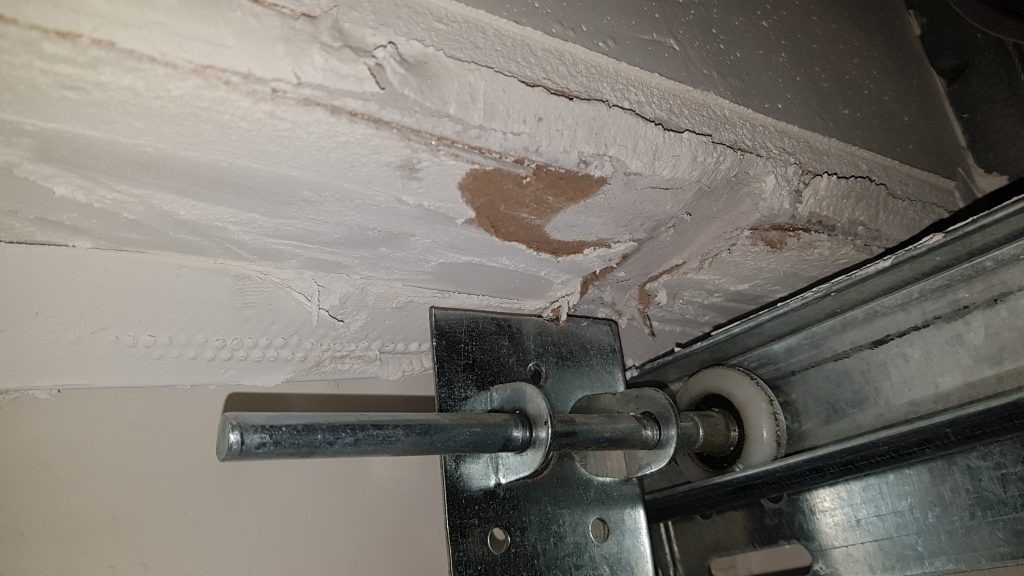
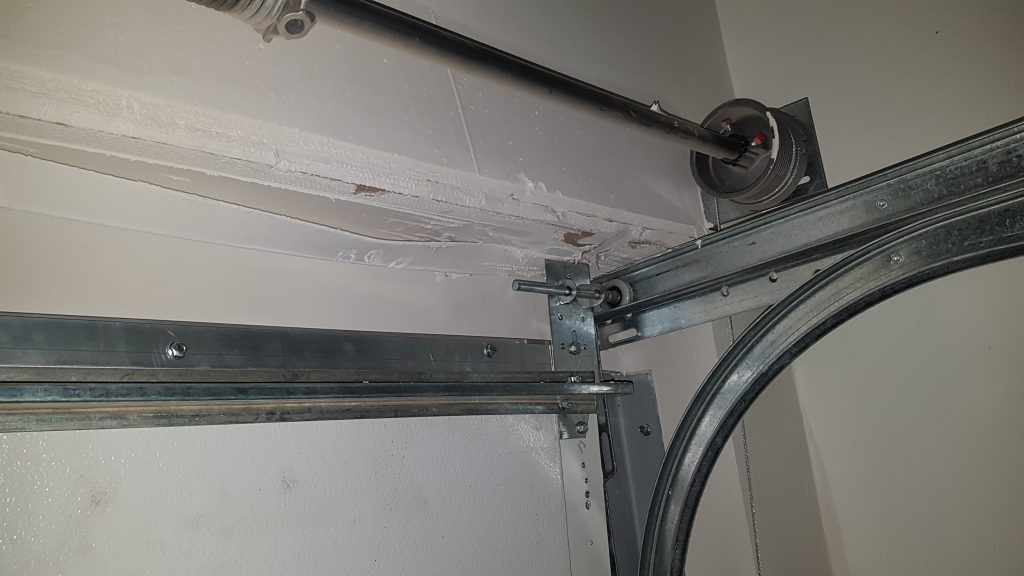
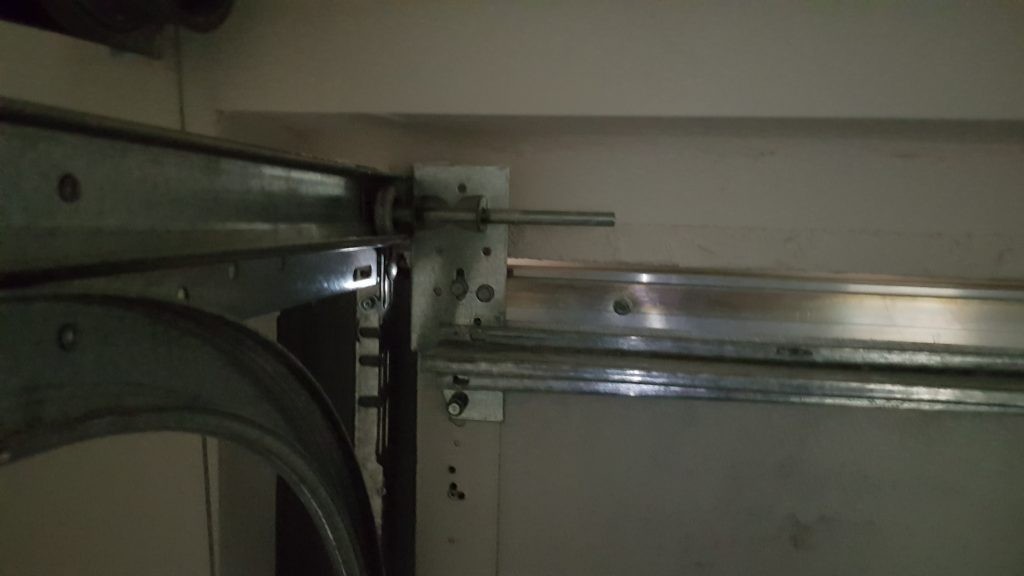
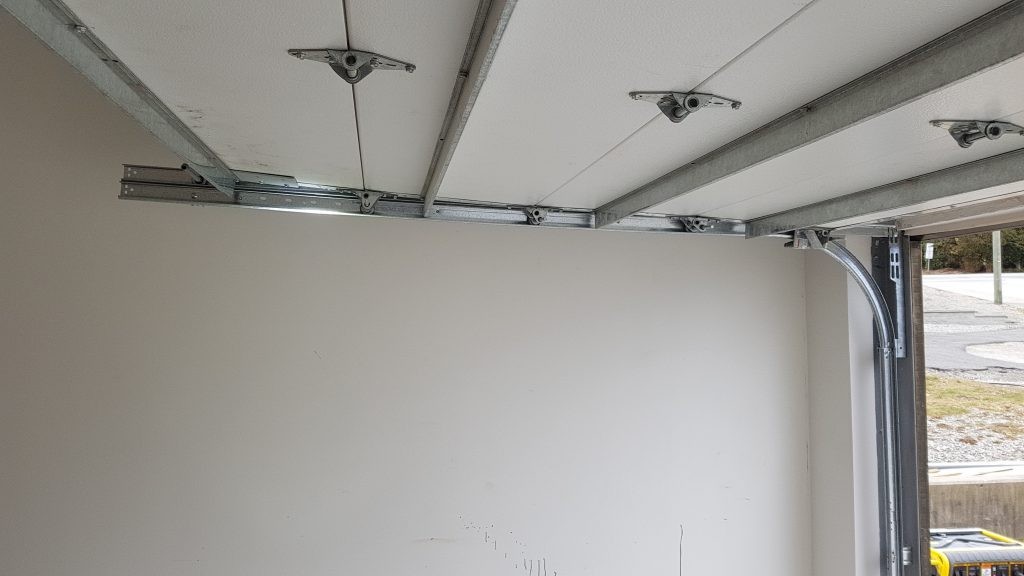
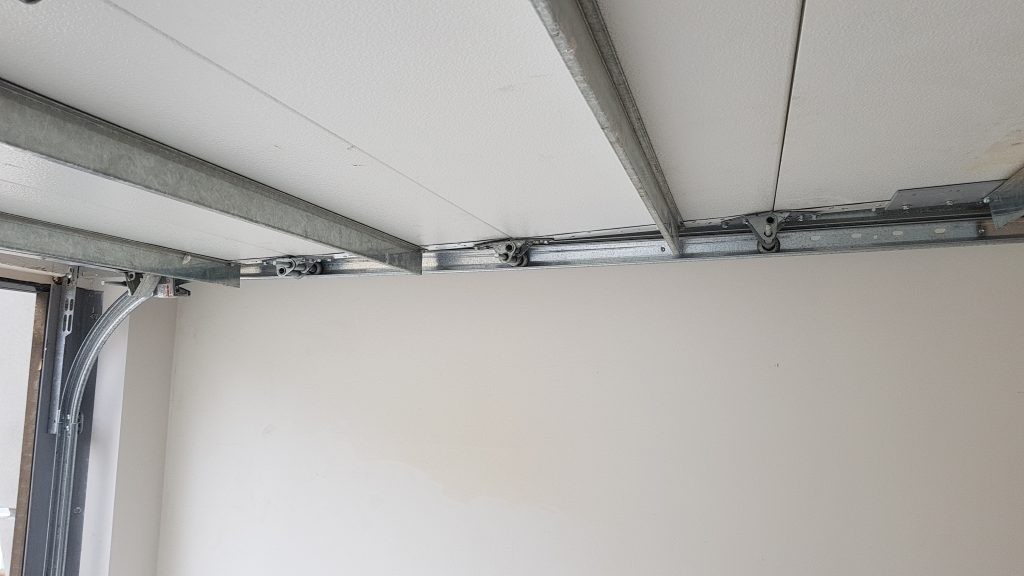
Top fixtures that need to be replaced. Drywall needs to be removed because installers added drywall after the garage door was installed. This caused a binding issue. We determined that the solution was to remove the excess drywall and to change the kind of top fixtures that the door was installed with.
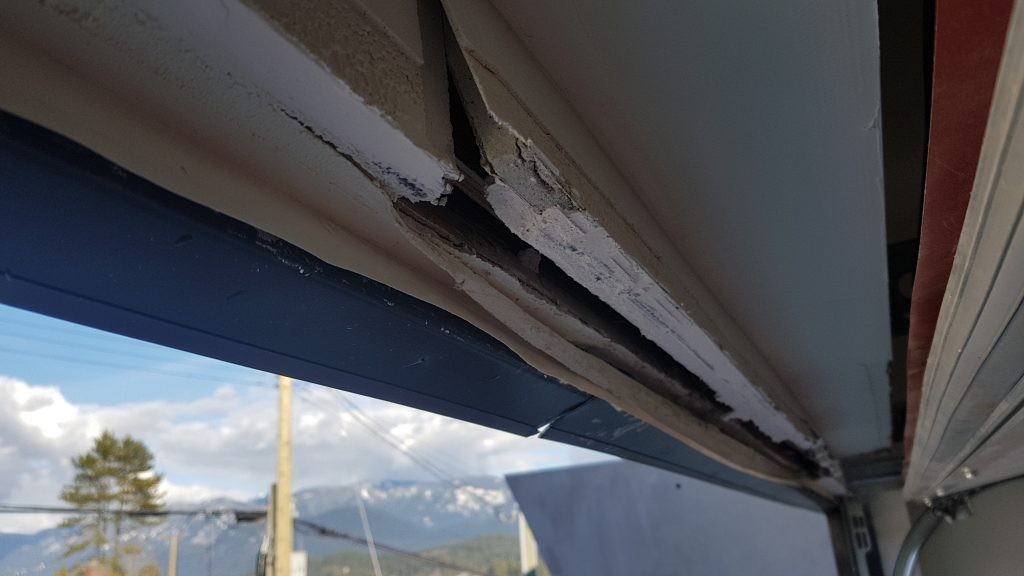
Drywall damage from extra drywall being added to the frame of the door after the door has been installed. This can pose a problem as trades man don’t understand other trades professions. Please be careful adding extra drywall around the opening of a garage door without care and consideration of the movement of the door.
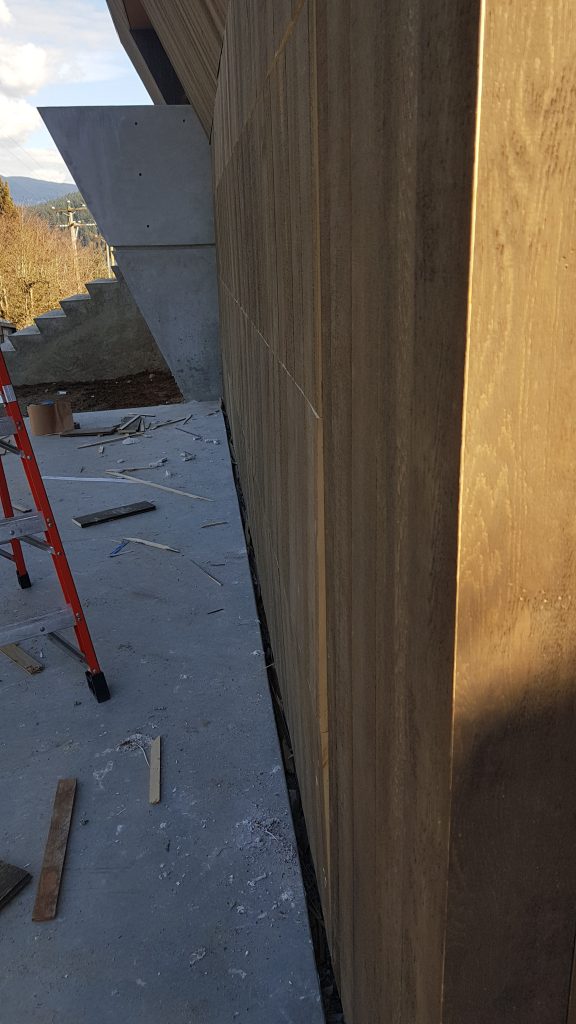
View of garage door that needs to be adjusted. You can see the builders have added material to the face of the door. This added lots of extra weight to the door. This extra weight caused end cap separation. Extra rivets will be needed.
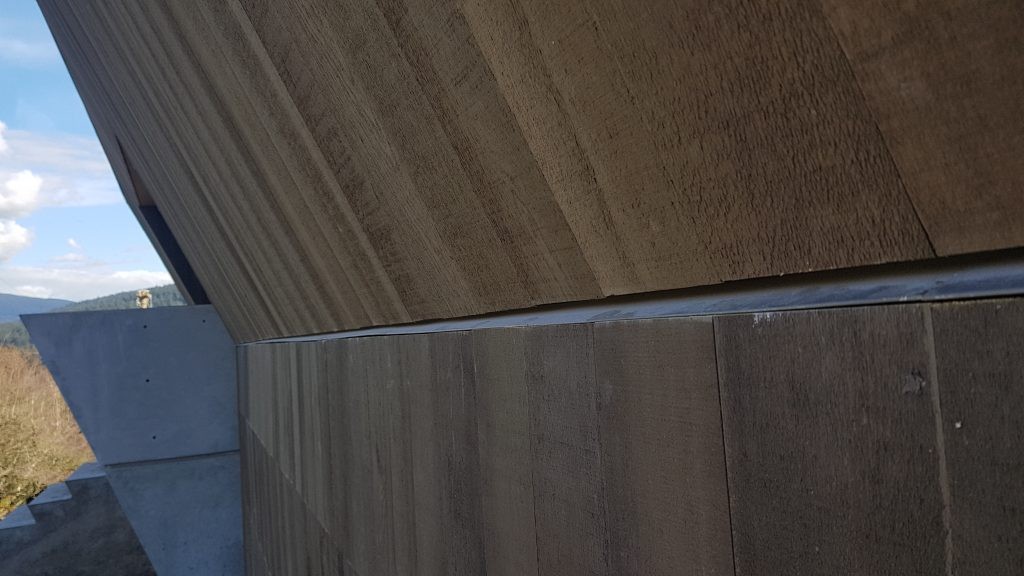
View of extra paneling that is catching on the metal flashing that has been added to the building after the garage door has been installed. You can see how tight it is along the top of the garage door. This has to be corrected.
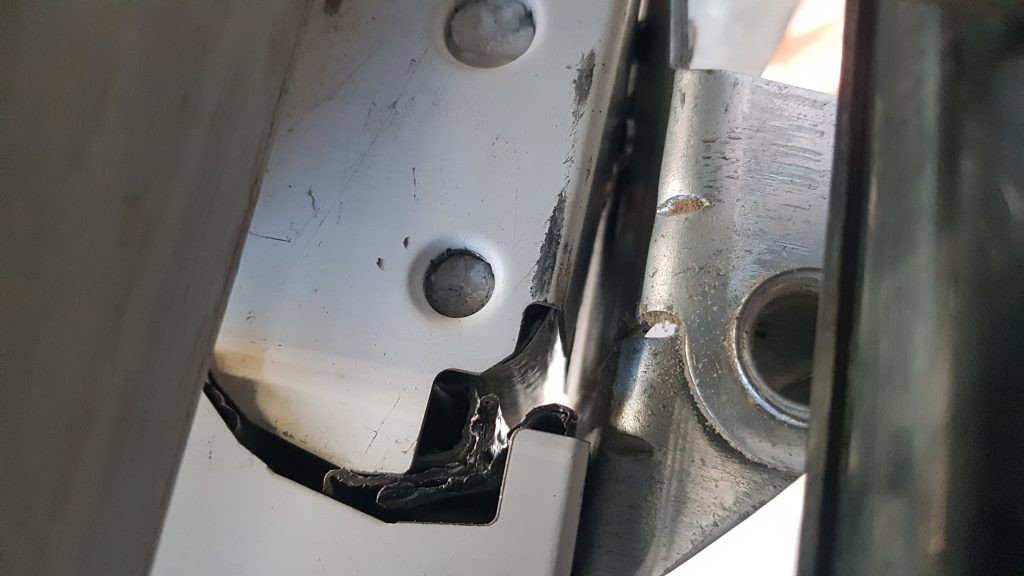
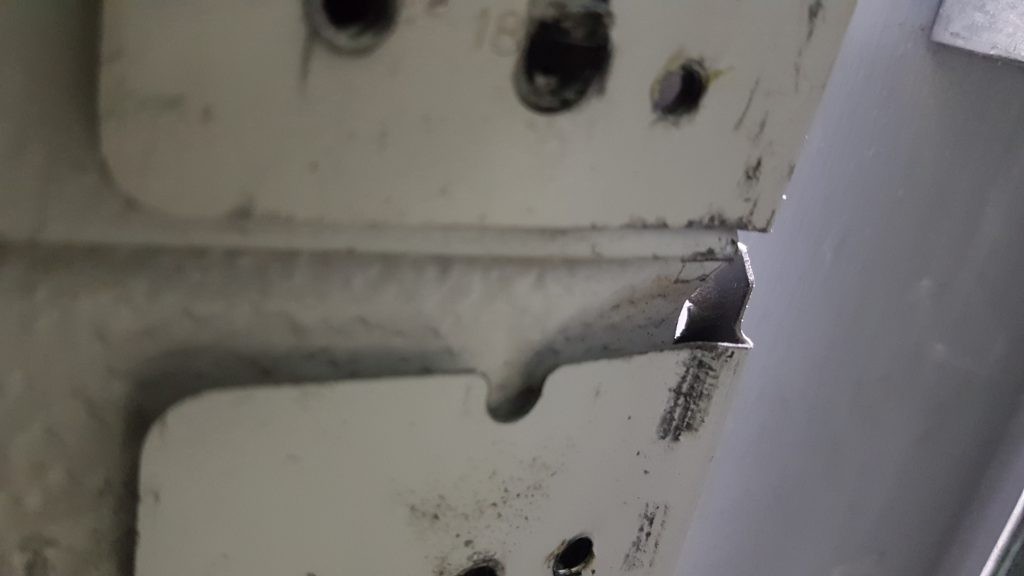
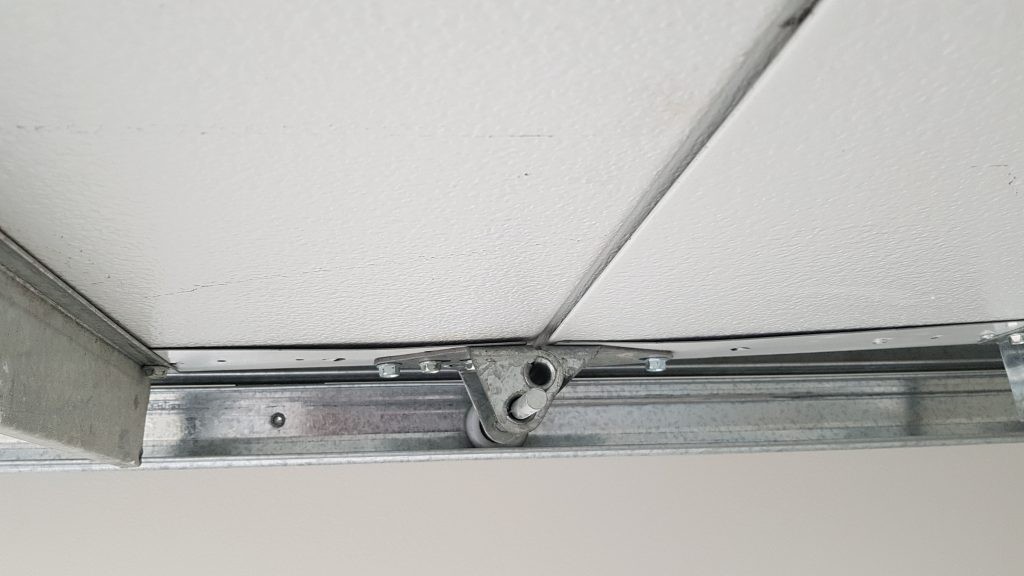
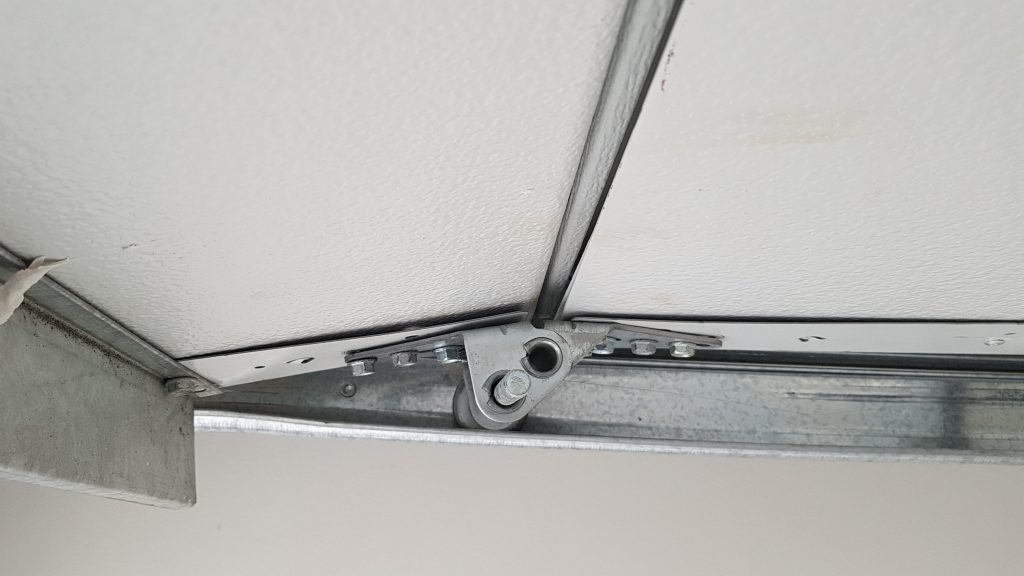
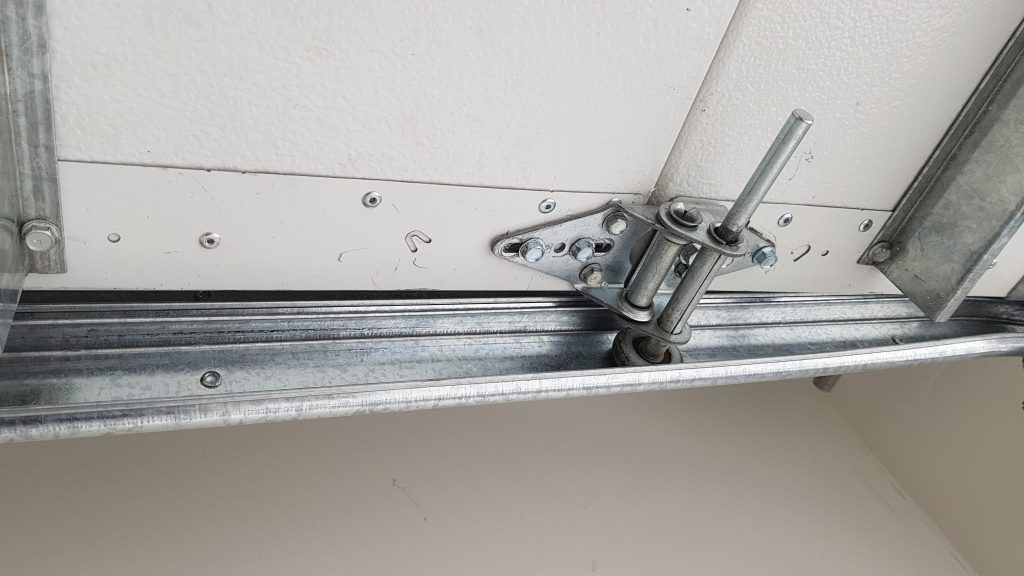
Excellent view of a hinge that is in the midst of separating from the garage door end cap. you can see the hinge is pulling away from the fastener. This needs to be corrected.
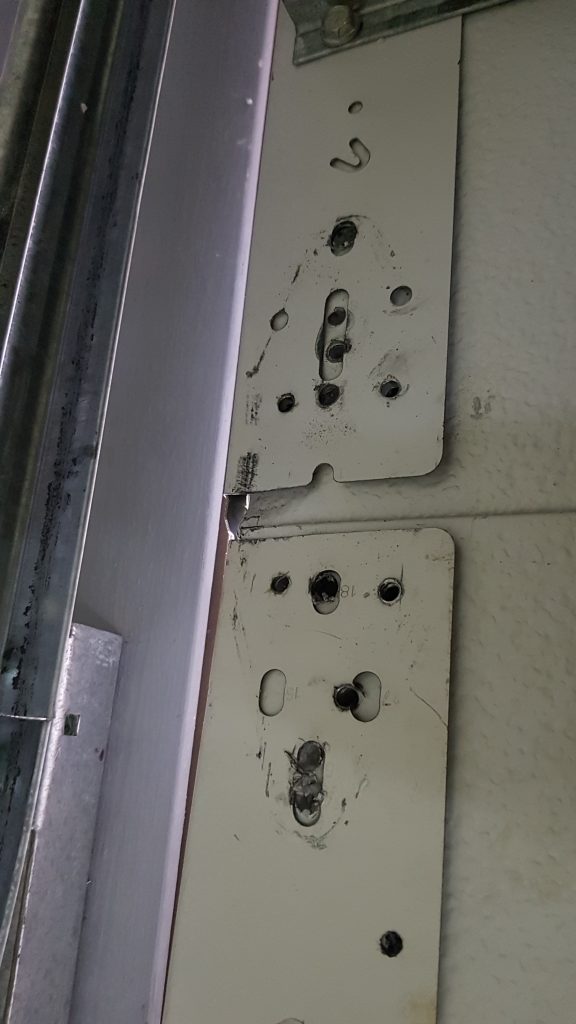
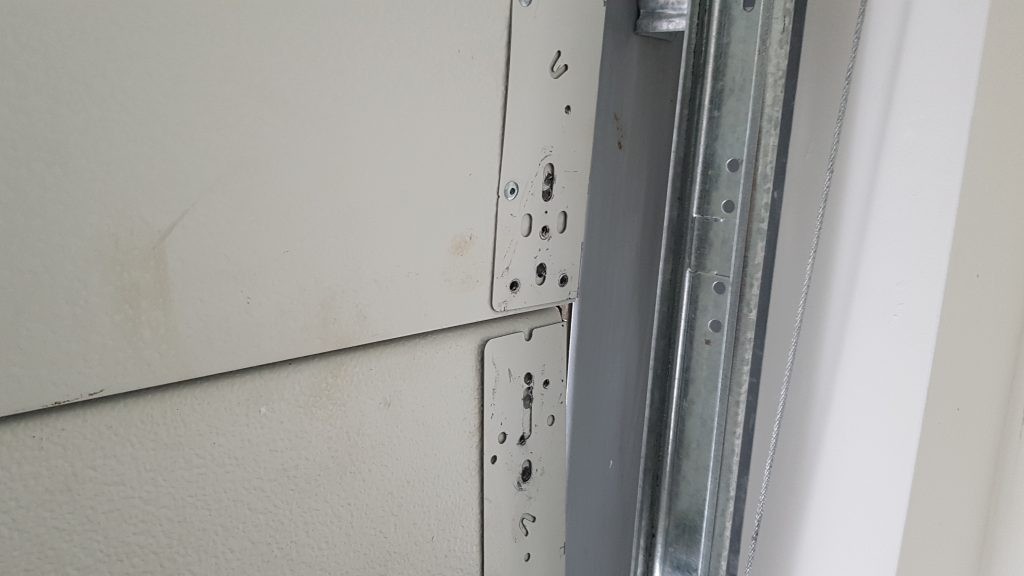
View of the end style that has been bullet holed with fasteners. This excessive fastening was applied from installers to assure the hinges where not going to tear off.
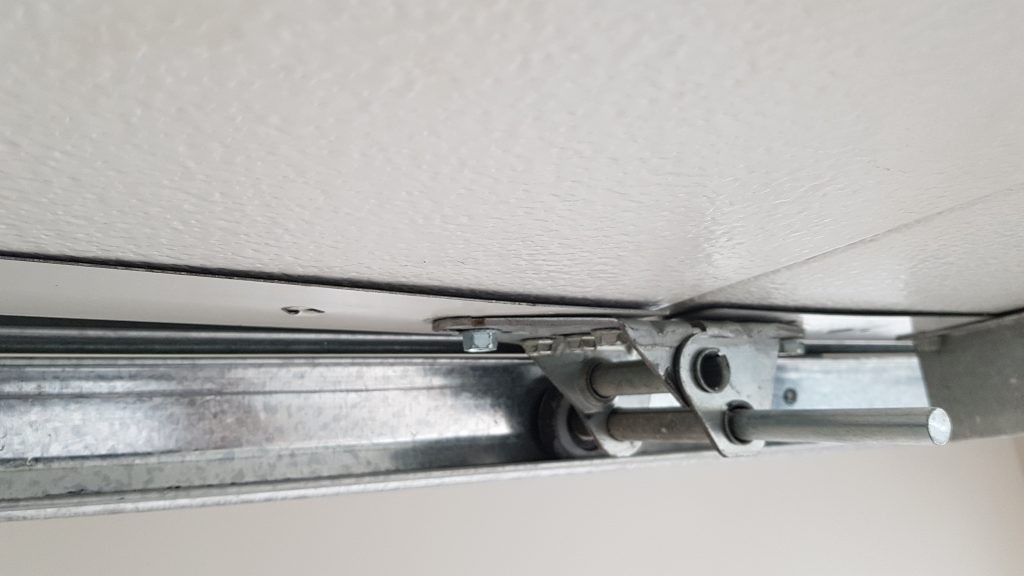
End cap separation. You can see the shadow that runs along the edge. Rivets will solve this. Call us if you find your door is falling apart and we can re-fasten the door together so the
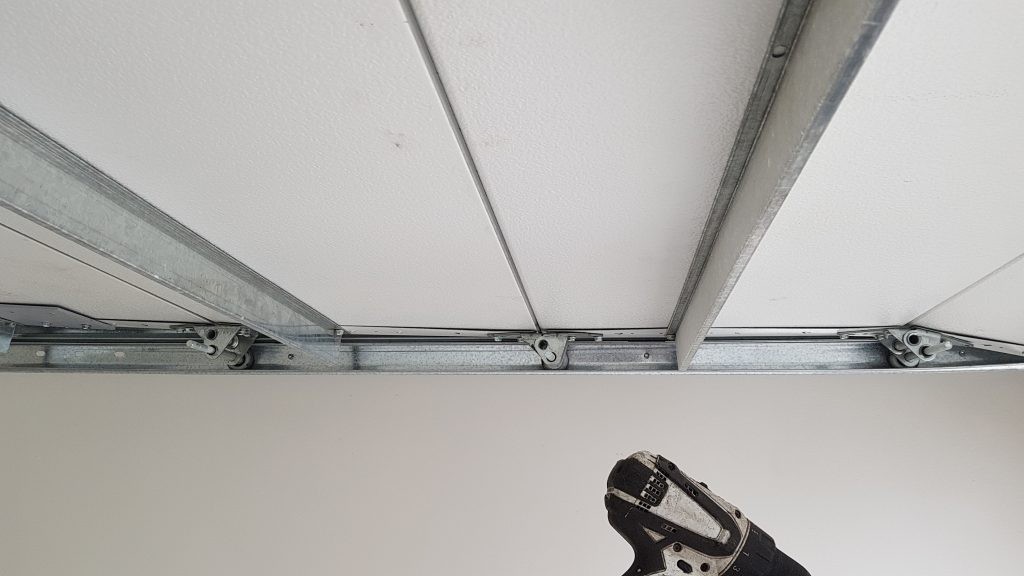
Sideview of before the end caps are riveted. The manufacture has rivets that hold the end caps onto the garage door ends. You can see the slight shadows along the end caps that need to be sealed
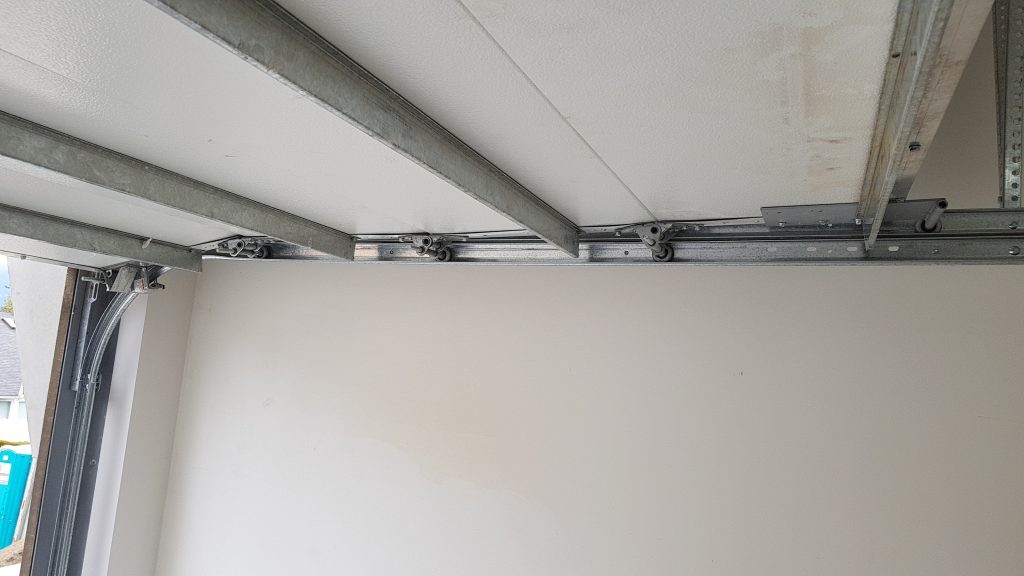
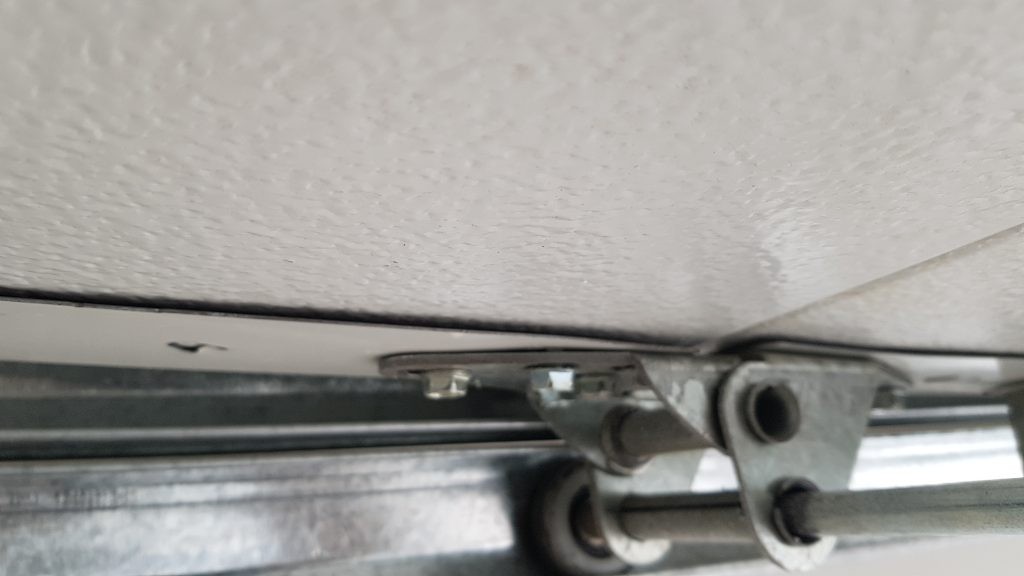
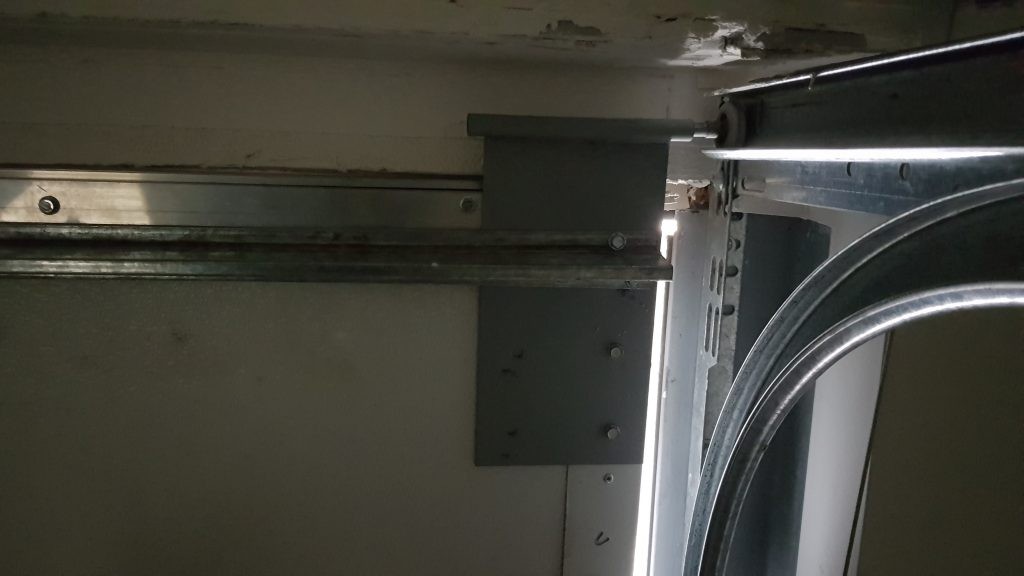
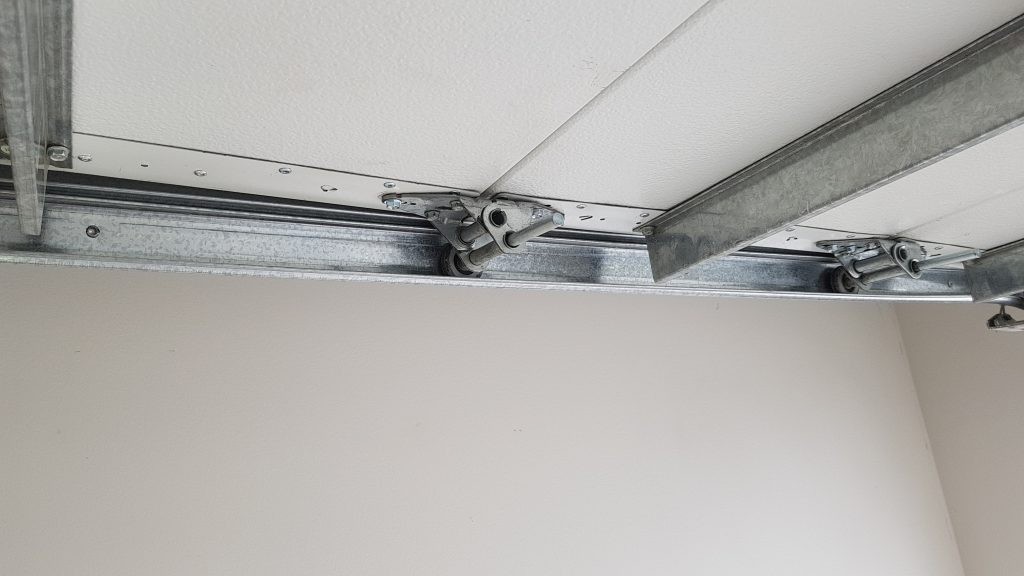
Another view of the end caps that are needing to be extra sealed. You can see the new top fixture have been installed.
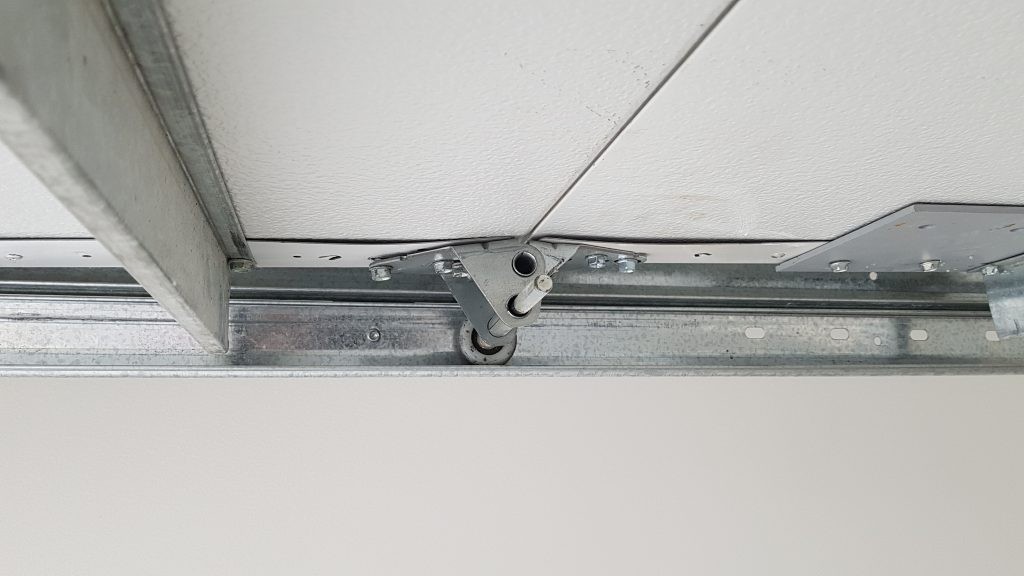
End caps that has a bit of separation. You can see the shadow that appears around the hinge. This will be corrected.
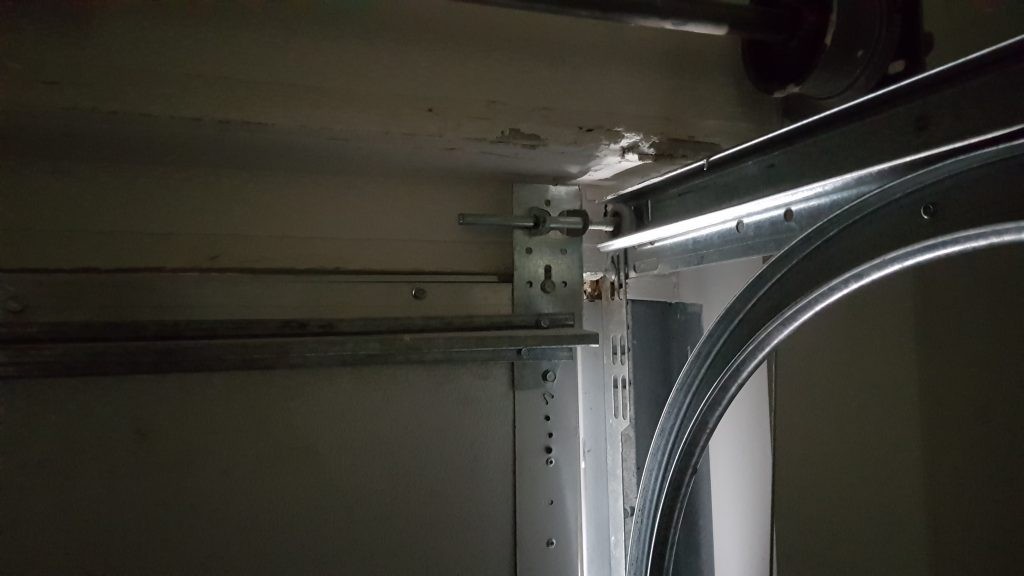
Top Fixture that need to be replaced. You can see the drywall damage that occurred due to material being added to the opening of the door.
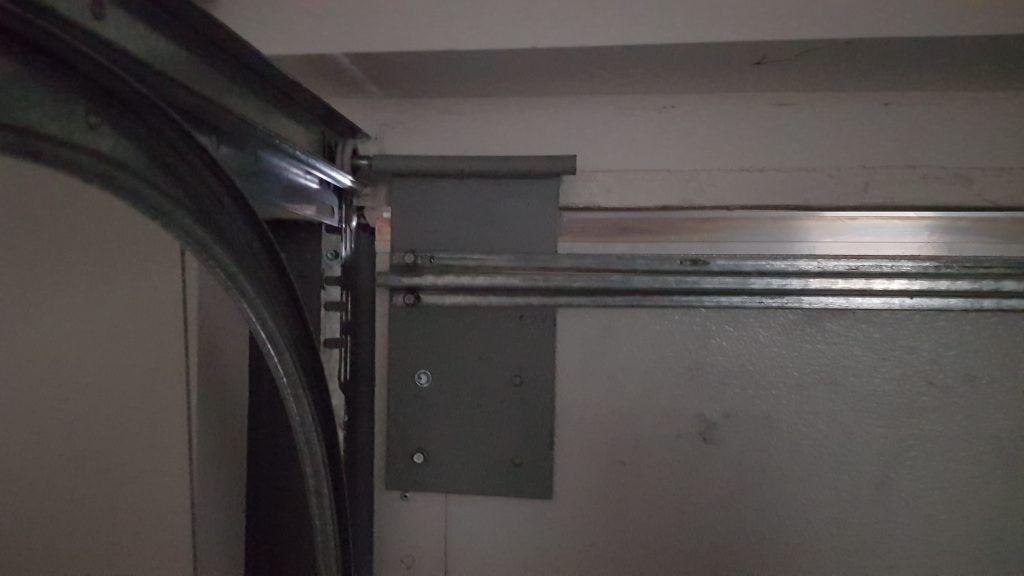
Heavy duty top fixture that has been applied to the door. This extra heavy duty part will assure that there is clearance when the door lifts and lowers into place.
